TANLITE
120W LED Retrofit Kit with Power Supply-16200 LM-CCT 5000K Shoebox LED Retrofit Kits-500W MH/HID/HPS Equiv.- E39 Mogul Base for Parking Lot Lights
120W LED Retrofit Kit with Power Supply-16200 LM-CCT 5000K Shoebox LED Retrofit Kits-500W MH/HID/HPS Equiv.- E39 Mogul Base for Parking Lot Lights
Couldn't load pickup availability
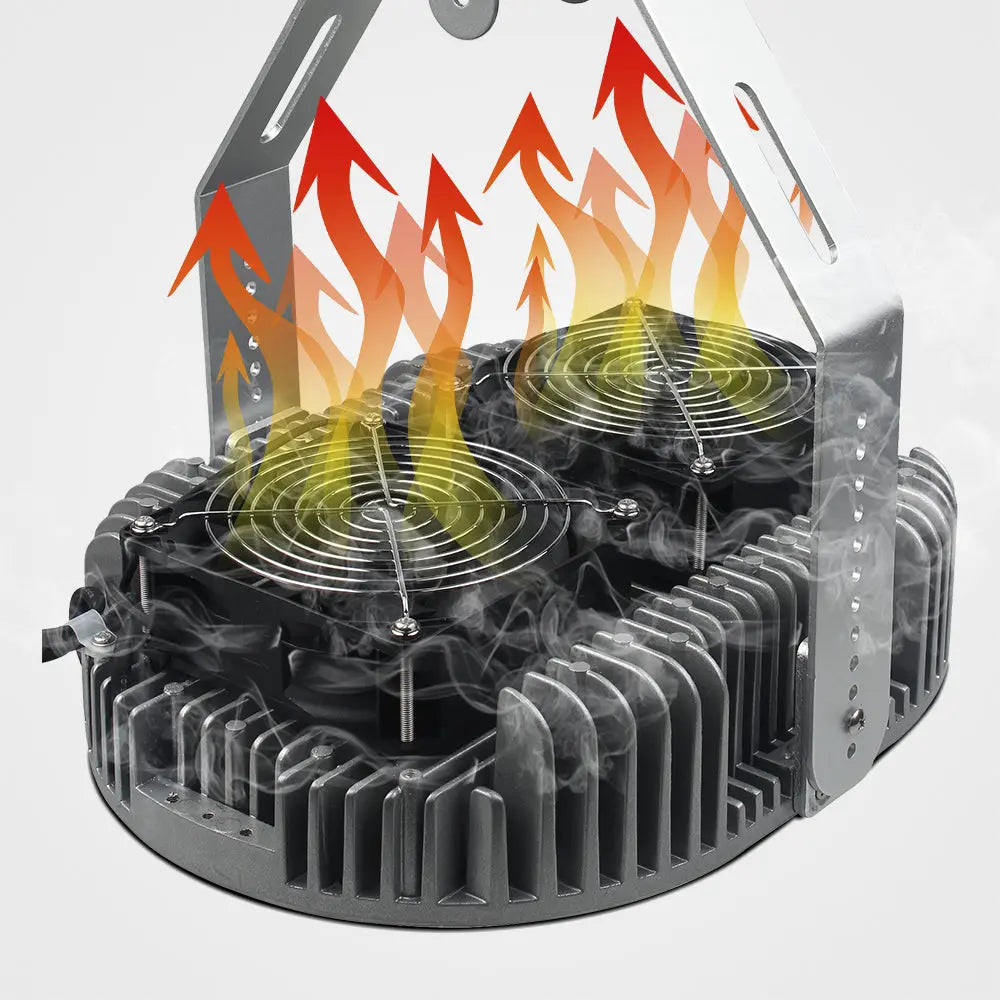
The TANLITE LED retrofit kit offers superior performance and value compared to competitors. Featuring a sleek. weatherproof design that accommodates outdoor applications. its advanced lighting technology combines an IP65-rated LED driver and heat management system. This highly efficient lighting system has a long lifespan of 100.000+ hours and is perfect for replacing 150-1000W Metal Halide lights. with energy savings of up to 80%.
Product features:
- New style and highly efficient wide-range input
- CREE Chip/UL approved Meanwell Driver/SUNON Fan
- Long lifespan. dimmable. and good heat dissipation
- Direct replacement for Metal Halide. Easy Installation. Labor cost-saving
- Fits many different fixtures to replace traditional lamps
- Adjustable bracket for different direction lighting
Application:
Retrofitting Parking lots. shoeboxes. streetlights. floodlights. wall packs. high bays. and canopies have just been made simple.
Specifications
- 120E. fit for E26/E39 base
- Metal Halide Equivalent: 500W HID
- Lumens: 16.200 lumens
- 100.000+ Hours Lamp Life
- Phillips LED Source and Meanwell Driver
- LPW: Lumen/Watt:135 lm/W
- Working Environment Temperature: -20~+45℃
- Operating Humidity 20%-90% RH
- Storage Temperature 10%-95%
- CRI: >80ra
- CCT: 5000K
- Warranty: 5 years
Warning: Please make sure the power is off before installation
- Fix the U bracket on the installation bracket with screws
- Fix the lamp body on the bracket with screws
- Adjust the length. height. etc. of the lamp body and bracket as per your specific requirements.
- Takedown all screw bases and ballasts in the fixtures before installation.
- Fix the driver on the fixture of the lamp with screws. then fix the products with a fixed bracket on the fixture
- Connect correctly the input wire of the lamp body and the output wire of the driver
- If the lamps are installed vertically. take high-bay fixtures
- Connect the driver with the local electric supply. insulation measures are needed when connecting the wires
- Turn on the power after the product is properly installed. then it can work normally.
Download Installation Instructions
Share